last modified: 2018-03-16
1. Importing a picture into the app
Before a picture can be shown on the screen of your app, you must add the picture to the files of your app.
Importing a picture in the files of the app should be done from the GUI Builder, in one click:

But this simple way does not work at the moment (it will probably be fixed soon).
So the alternative is to go somewhere else: in a place that used to be important to create the app, but which is now rarely used, except for cases like this.
-
in the files of your project in NetBeans, spot the file named "theme.res" and double click on it:
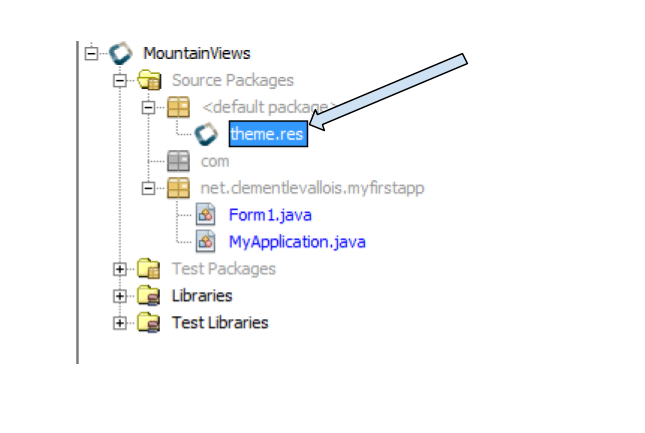
→ It launches a new window. Be patient, it takes a bit of time to open!
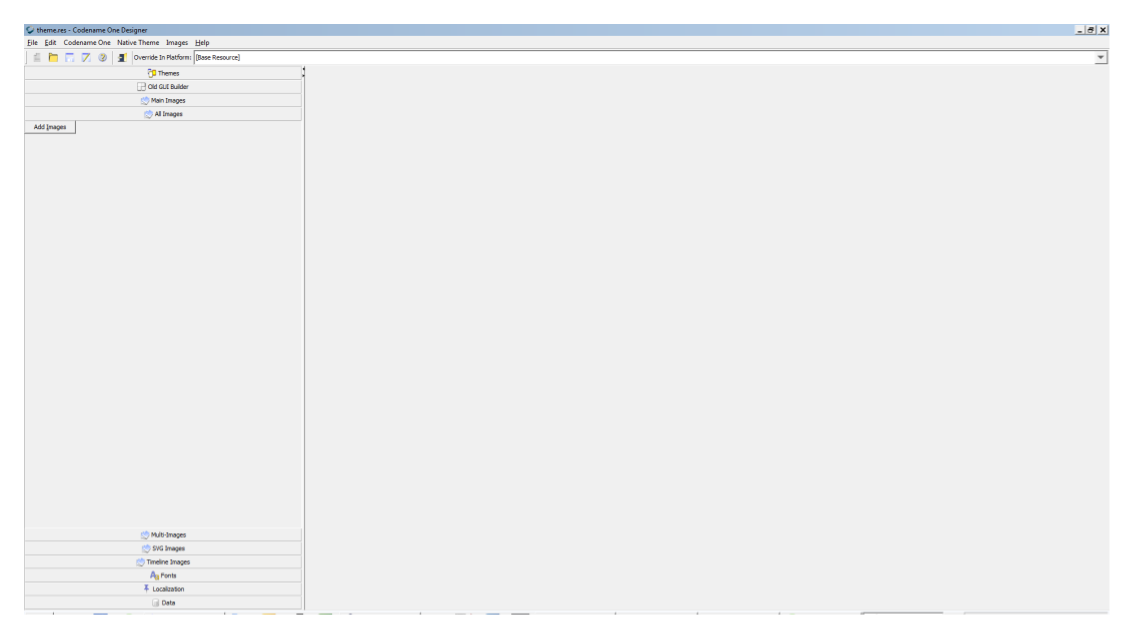
Here is how the new window should look:
There, just go in the top menu, select 'Images' and choose "Add images":
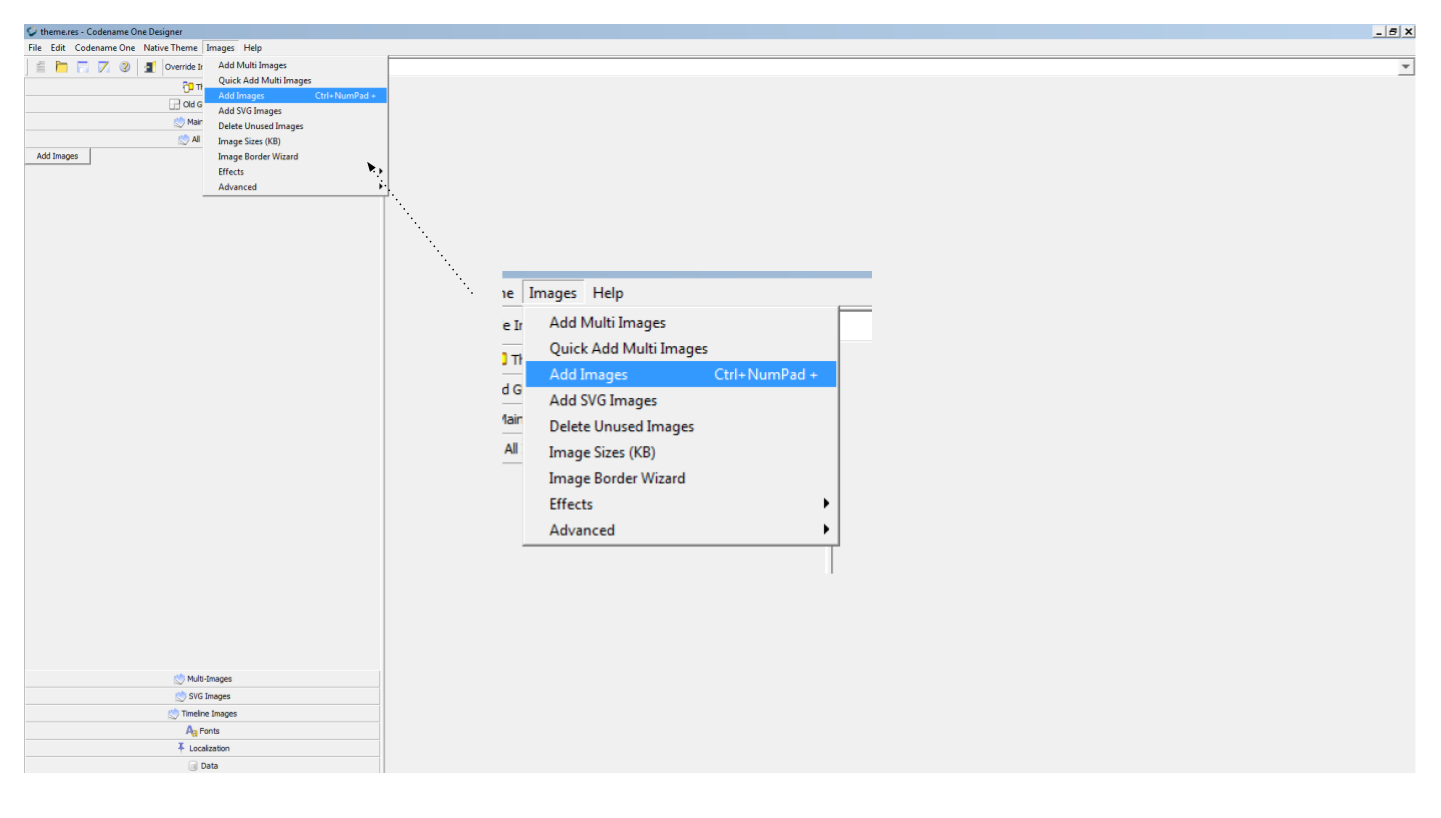
Simply choose the image that you would like to insert in your app. Guidelines:
-
choose an image in '.jpg' or '.png' format
-
choose a small sized image: a file not bigger than 300kb.
Done! Save (File → Save) before you close this window, as we don’t need it anymore.
You are now ready to use this pic in your app. Let’s see how to add it onto a Form:
2. Adding a picture to a Form
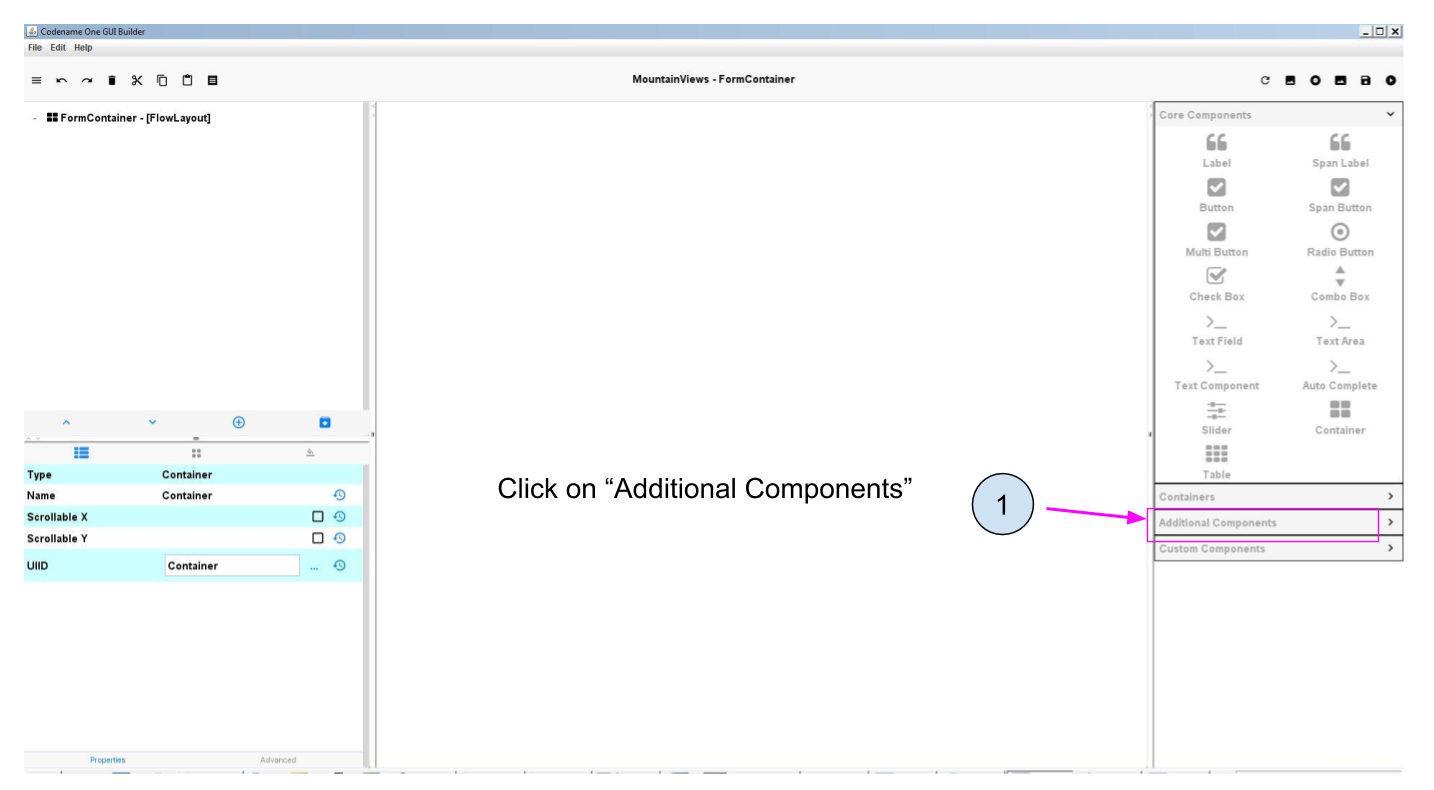
A Component has been specially designed for pictures, but it is called "Scaled Label". You find it here:
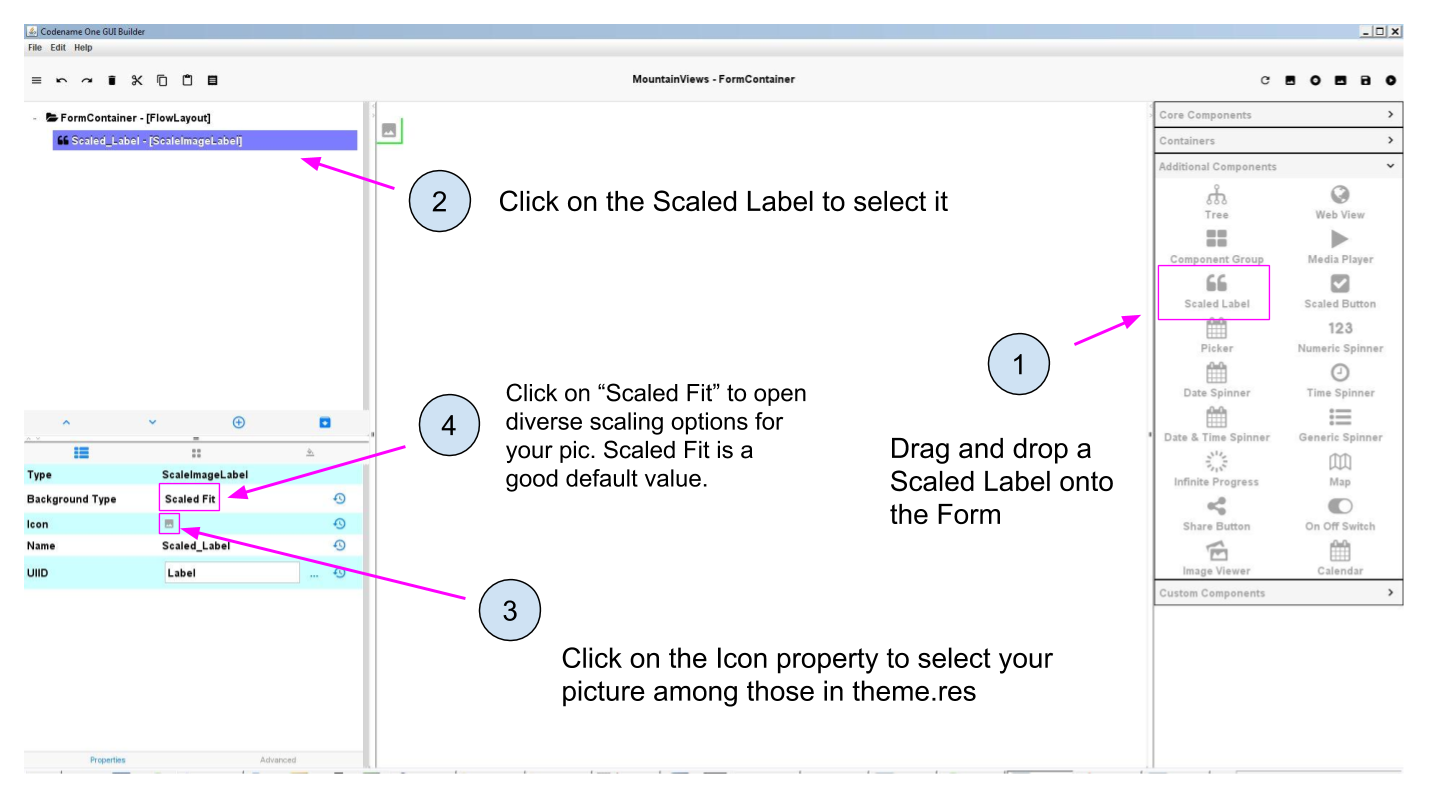
You should now see your picture on the Form!
3. Adding a picture to a Button
It is common for app to have pictures that the user can click.
To get this effect, we create a Button and add a picture to it.
This works like the Scaled Label we have just seen, except that it is a Scaled Button:
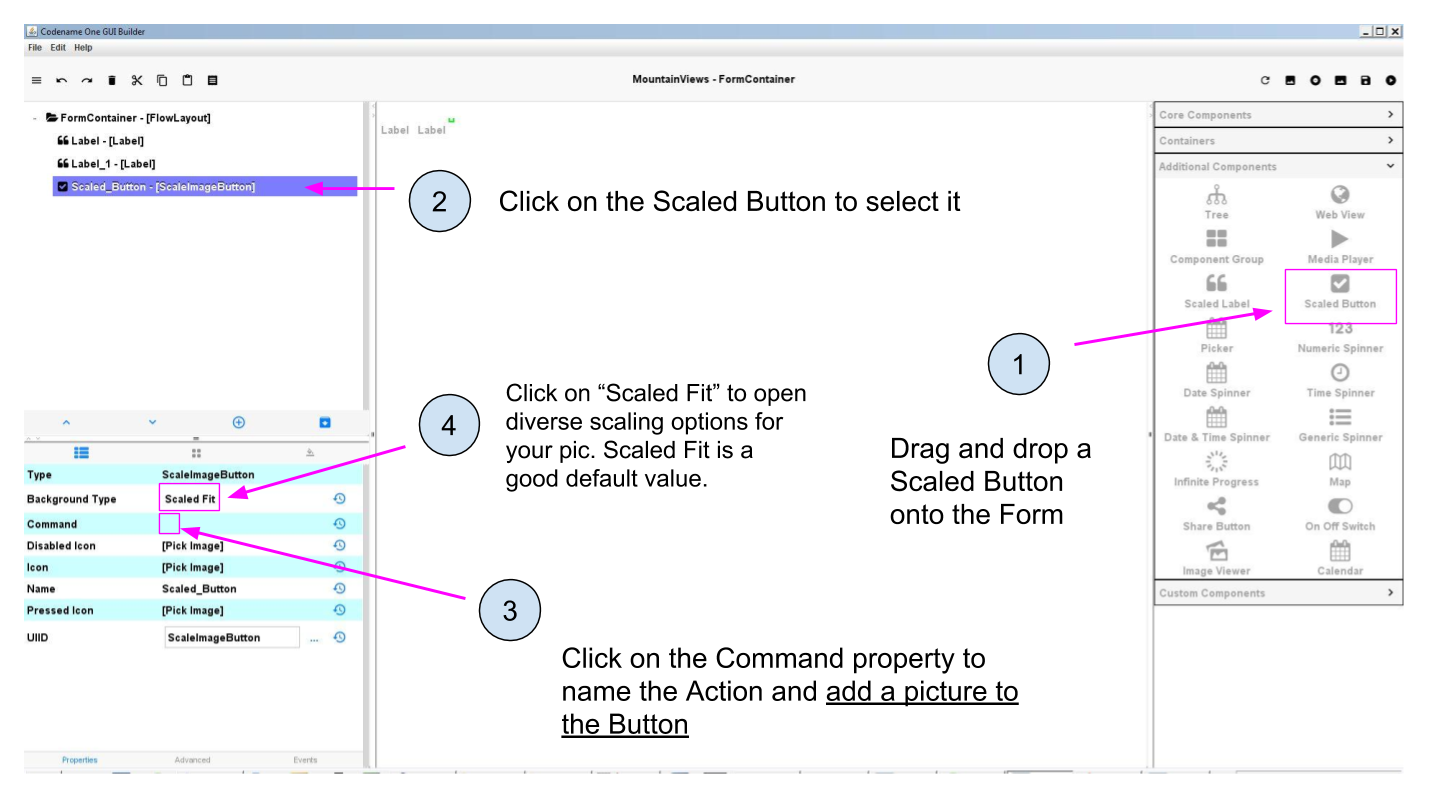
When clicking on "Command", a window opens:
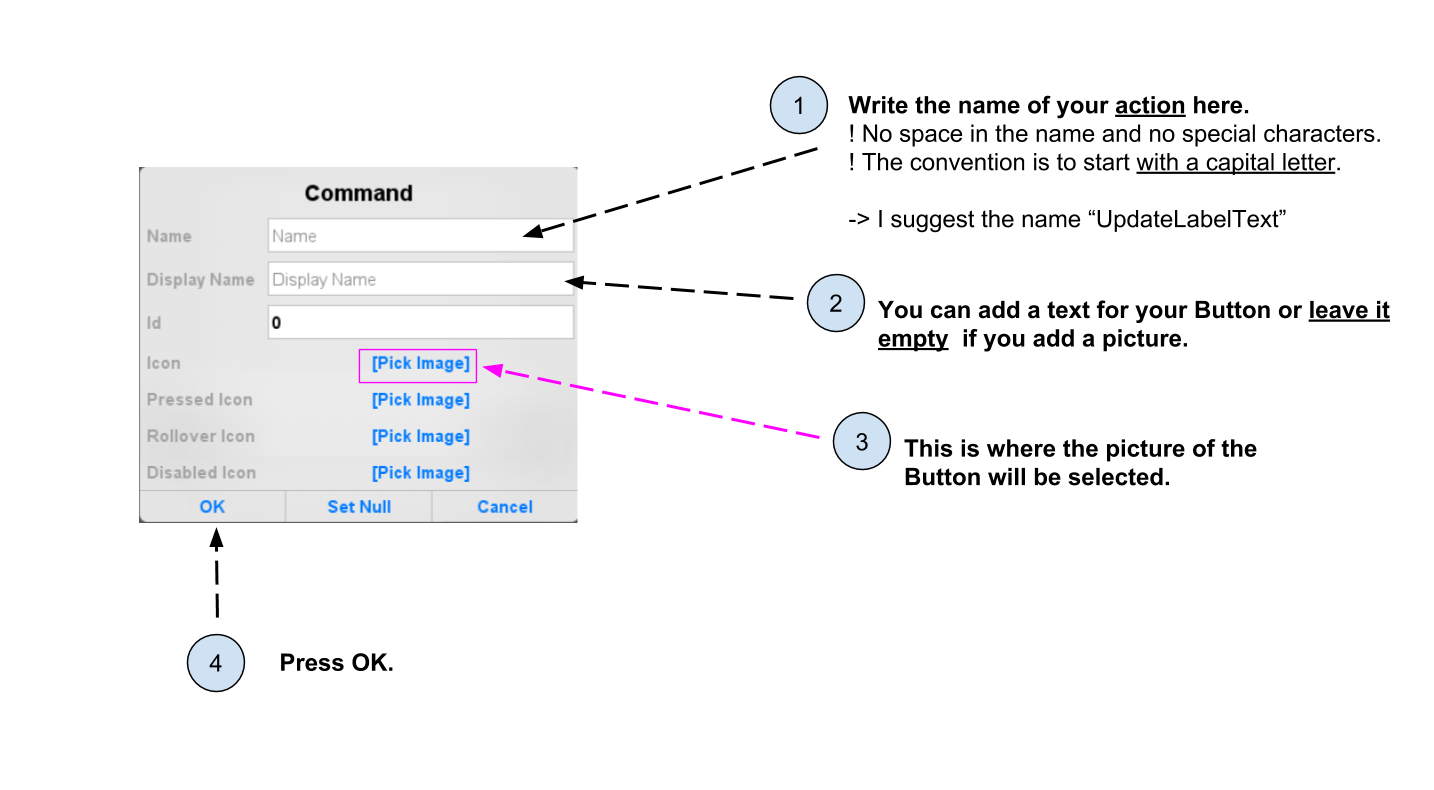
You should now see your Button on the Form: it is a picture, which triggers an action when the user touches it!
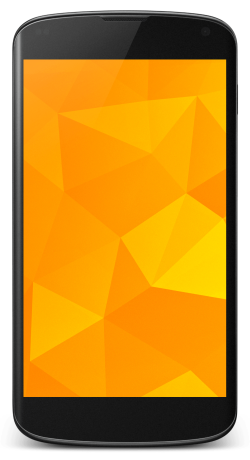
4. Setting a picture as the background of a Form
So, we have seen how to add a pic on the screen. But often we also want to set a background for the entire of the phone, like this:
In this case, we could try to create a Scaled Label and then resize it to take the entire space of the Form, but there is a better way:
We can simply set the picture we want to the background of the Form itself. In the following, I am using a picture by user Patrick Hoesly on Flickr:

Just like we have seen, we need first to import this picture through the file 'theme.res' (see the top of this lesson for how to).
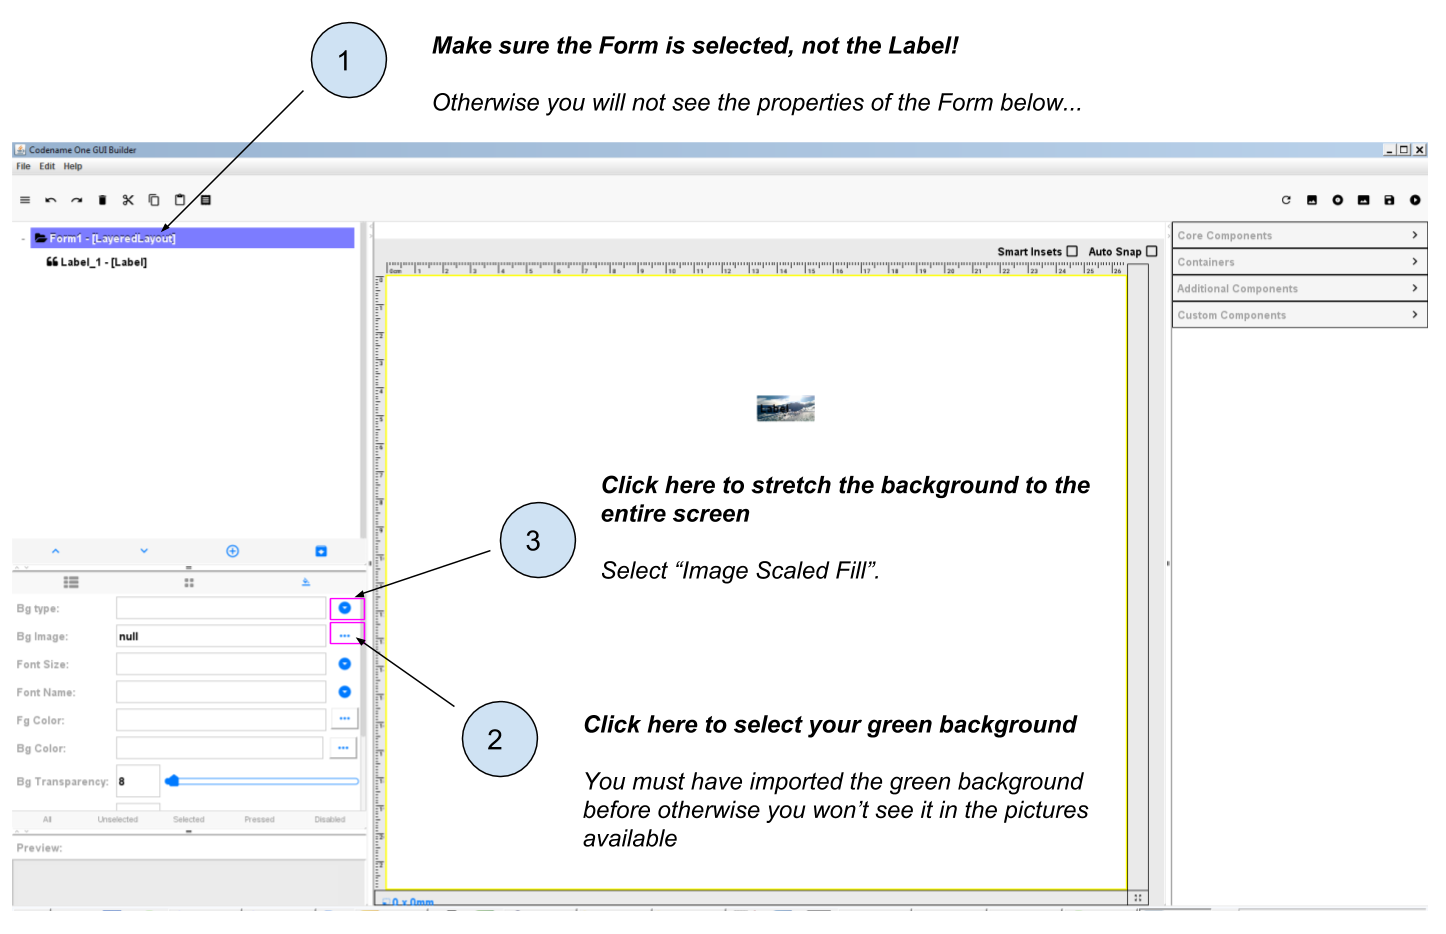
Then, set this picture as the "Bg Image" of the Form:
To see the result, make sure to save the GUI Builder then launch the preview of the app (big green arrow ![]() in NetBeans.).
in NetBeans.).
You should get something like:
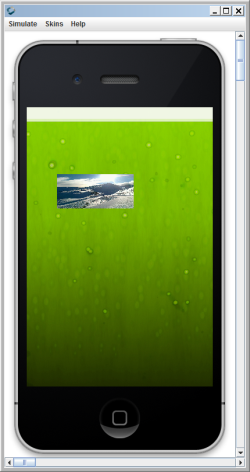
This is quite good but we see that some room on the top of the app is not covered, because it is reserved space for the title of the Form.
We can remove this white space on the top by adding two lines of code to the file 'MyApplication.java'.
In the file 'MyApplication.java', spot the lines that say:
public void start() {
    if (current != null) {
        current.show();
        return;
    }
    Form1 myForm1 = new Form1();
    myForm1.show();
}
Just add two lines of code precisely like this:
public void start() {
if (current != null) {
current.show();
return;
}
Form1 myForm1 = new Form1();
myForm1.getToolbar().setUIID("Container");
myForm1.getToolbar().hideToolbar();
myForm1.show();
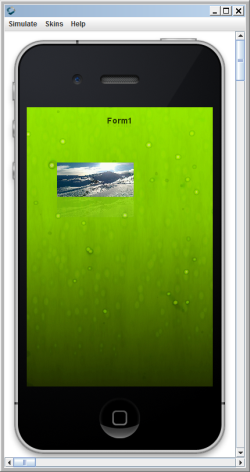
}Now, if you launch the preview, your background should nicely cover the entire space of your screen:
Congratulations! You learned how to place a picture onto a Form, and how to set a picture as the background of your app. It will look great! 🎉🎉🎉
This is the end of the second module. You should now be able to:
-
understand what a Component is.
-
understand what an Action is.
-
understand what a Form is.
-
create a Form using simple lines of code.
-
create a Form using the Graphical User Interface (GUI).
-
understand what are the different panels of the GUI.
-
trigger with a couple lines of code the opening of the Form you created with the GUI.
-
create a Label
-
create a Button and attach an action to it.
-
add a picture to the files of your app through theme.res
-
add a picture onto a Form
-
set a picture as the background of a Form.
You are now well equipped to work with the building blocks of the user interface (UI) of your app.
In the next module, we are going to learn how to style and place all these different Components exactly where you want them to be on screen, to achieve the design you have in mind.
The end
Questions? Want to open a discussion on this lesson? Visit the forum here (need a free Github account).
Find references for this lesson, and other lessons, here.
Licence: Creative Commons, Attribution 4.0 International (CC BY 4.0). You are free to:
-
copy and redistribute the material in any medium or format
-
Adapt — remix, transform, and build upon the material
⇒ for any purpose, even commercially.
 This course is designed by Clement Levallois.
Discover my other courses in data / tech for business: http://www.clementlevallois.net
Or get in touch via Twitter: @seinecle