last modified: 2023-04-10
Gephi workshops
I organize online workshops and personalized trainings for Gephi, for beginners and experts. To schedule one or to get more information: analysis@exploreyourdata.com.
1. Goals of this tutorial
-
We are going to create one very simple non dynamic network (network "A").
-
then we will create a modified version of it (network "B").
-
in both files, we need to modify a single line.
-
finally, we will merge networks A and B, forming a new dynamic network evolving from version A to B.
|
The creation of the 2 networks is not a mandatory step: you can use your own network files, as long as they are in gexf file format. In this case, skip to here. We create the networks in this tutorial to provide the most simple and clear case. |
2. Open a new project in Gephi
-
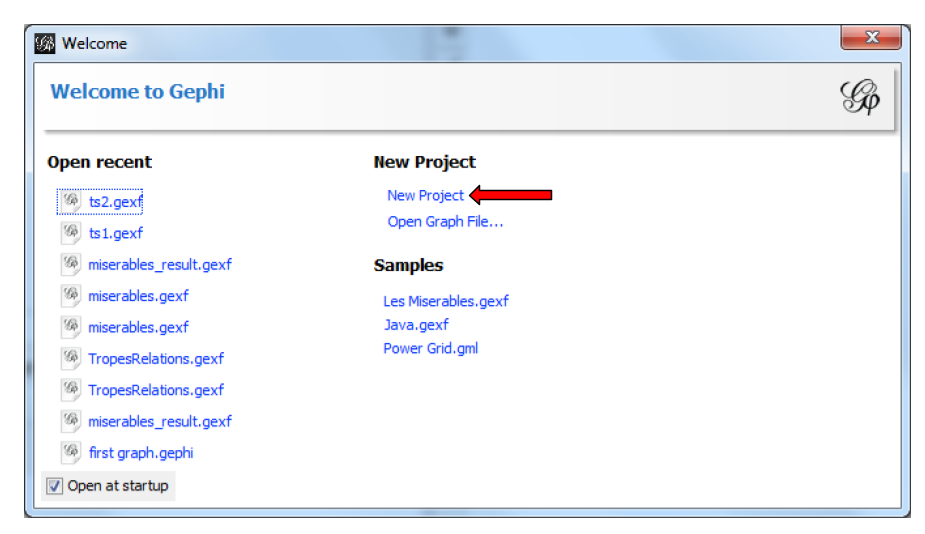
open Gephi. On the Welcome screen that appears, click on
New Project
3. creating network "A"
Our project is empty. We can use a simple click-and-point tool to create a network:
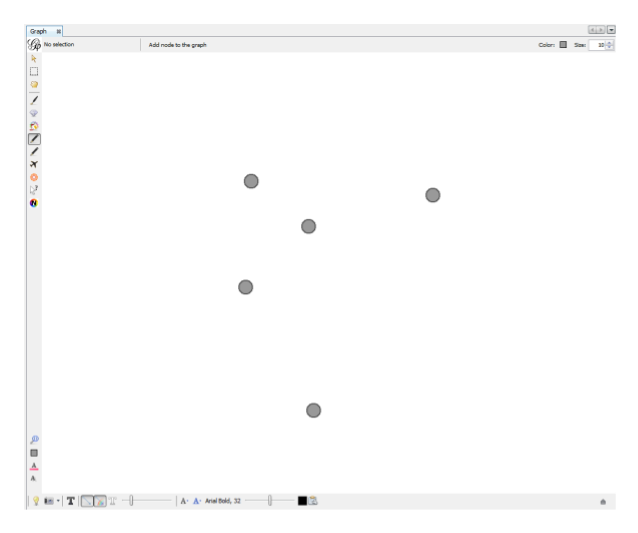
When you have created a couple of nodes, click again on the pencil icon to stop the node creation.
Export the network as a file and call it "network A":

Clicking on "Save" saves the file in the folder you chose. You are back to the view on your graph.
4. Creating network "B"
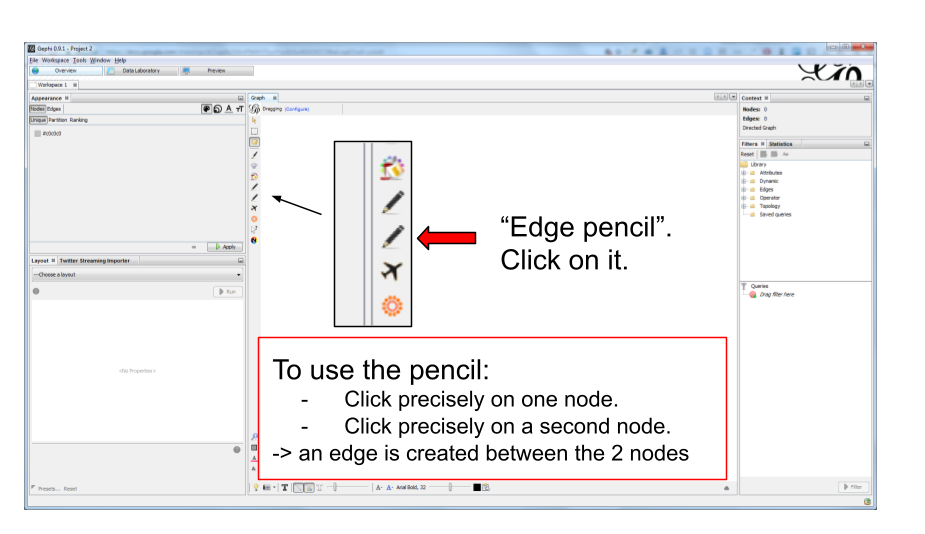
Now, click on the "Edge pencil", just below the "Node pencil we have used (careful, the icons are identical!)
Create one edge, or a couple of edges, in this way.
Clicking again on the pencil stops the edge creation by mouse clicks.
Then export the network in the same folder where we put the previous file (File → Export → Graph File …)
This time, name the file 'network B.gexf' and remember to choose the gexf file format just like we did before.
5. Modifying just one line in the files network A.gexf and network B.gexf
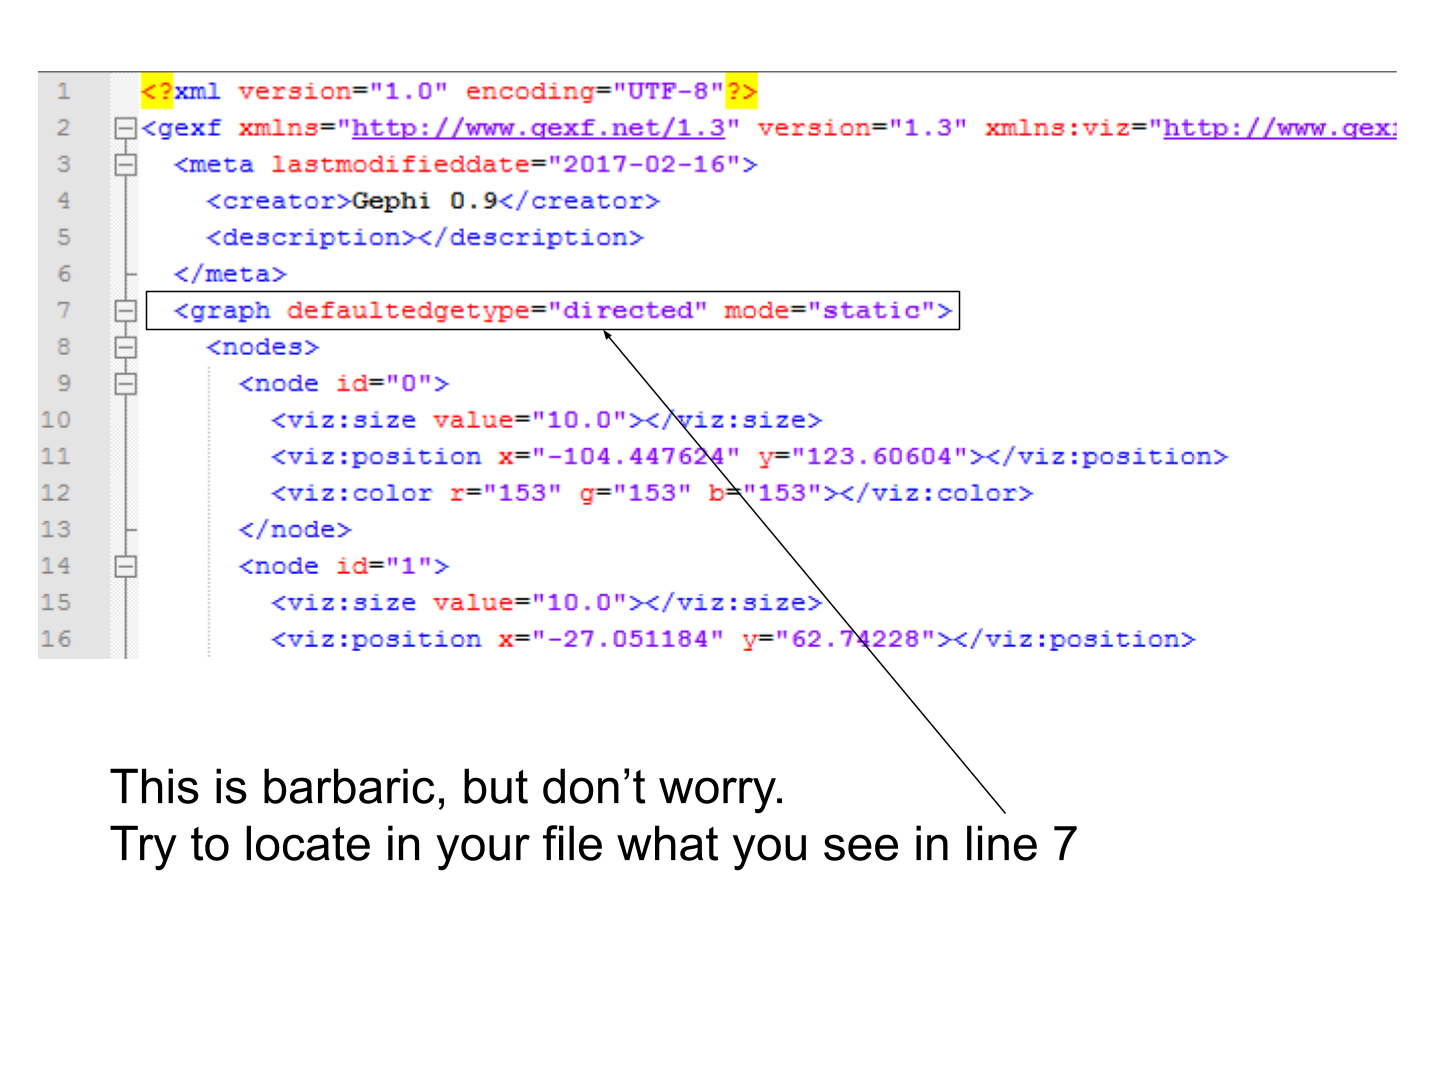
From your computer, open network A.gexf with a text editor (don’t use Microsoft Word!):
Delete and replace this line by this one:
<graph mode="slice" defaultedgetype="directed" timerepresentation="timestamp" timestamp="1">See timestamp="1" ? It means this will be the first "time slice" of your dynamic network.
Save the file.
Repeat the steps for network B.gexf:
-
open the file in a text editor,
-
find the line
<graph defaultedgetype="directed" mode="static"> -
replace it by:
<graph mode="slice" defaultedgetype="directed" timerepresentation="timestamp" timestamp="2">(see that we have timestamp="2" here: this is going to be the second time slice!)
-
save the file.
6. Merging network "A" and "B" into a dynamic network
We will use the 2 files network A.gexf and network B.gexf that we have created.
First, let’s close the project we have in Gephi, without saving:

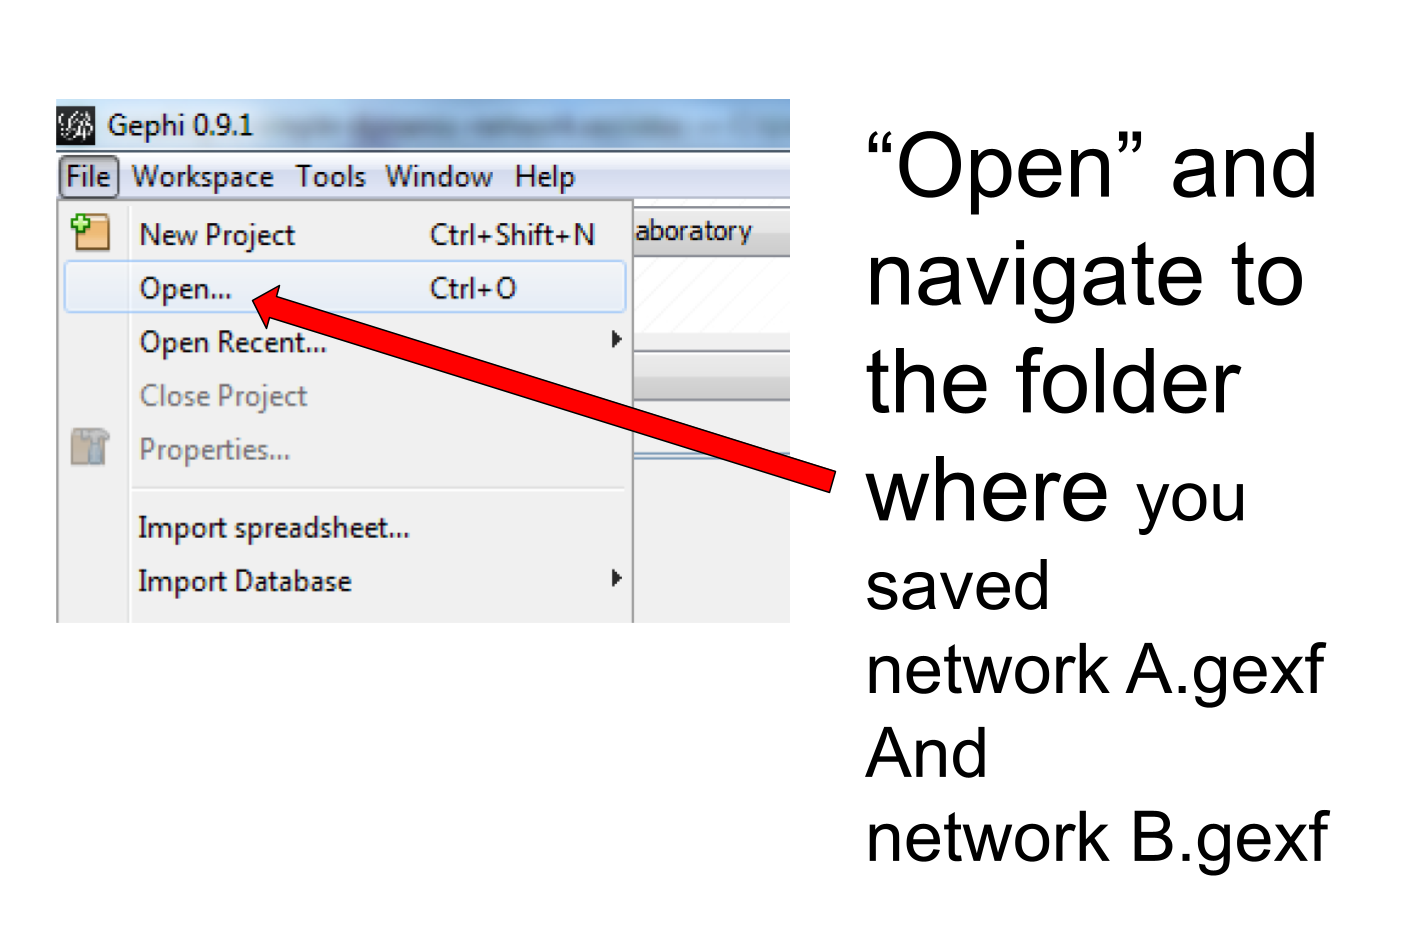
Then click on File → Open and navigate to the folder where network A.gexf and network B.gexf are located:
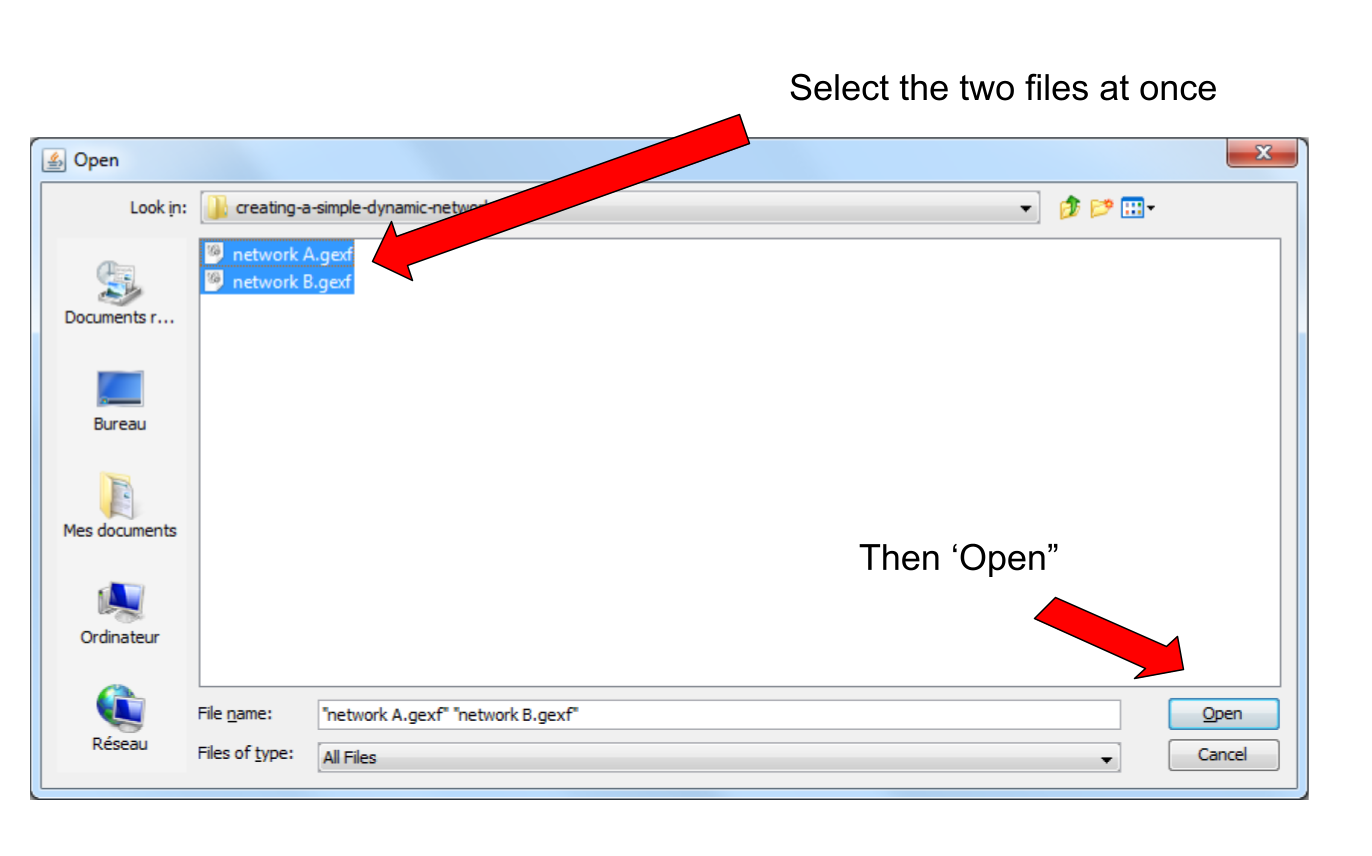
Here, make sure you select the 2 files at once (using the key Ctrl on pc or {commandkey} on mac).
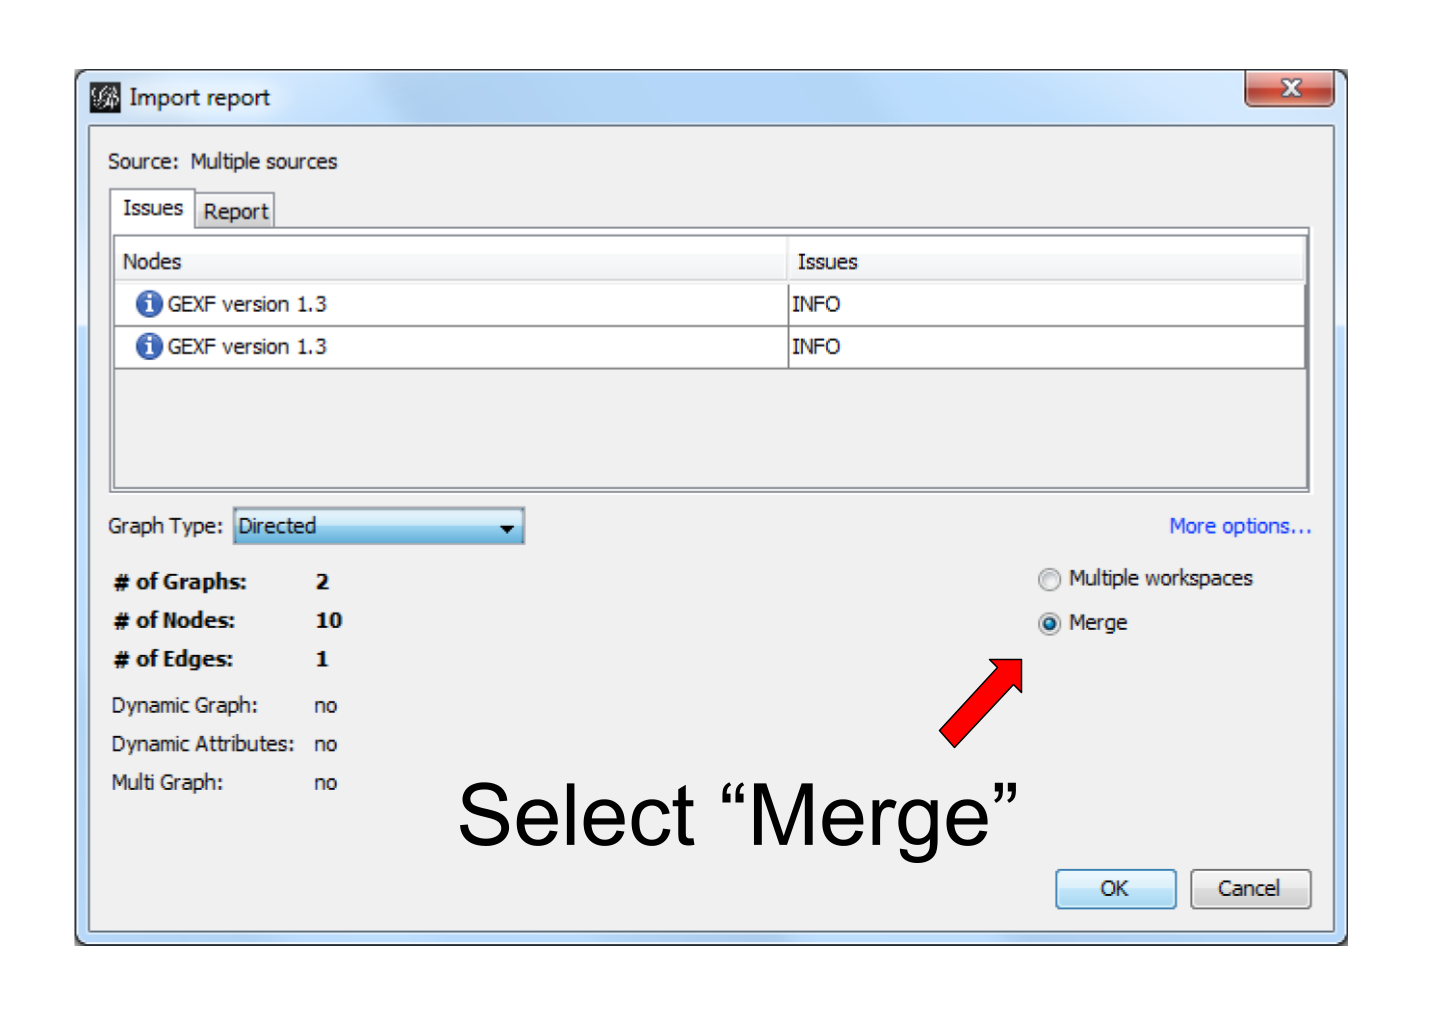
Opening the files display a report window:
7. Enabling the timeline
You should see this button, click on it (if not: something went wrong. Retrace your steps)

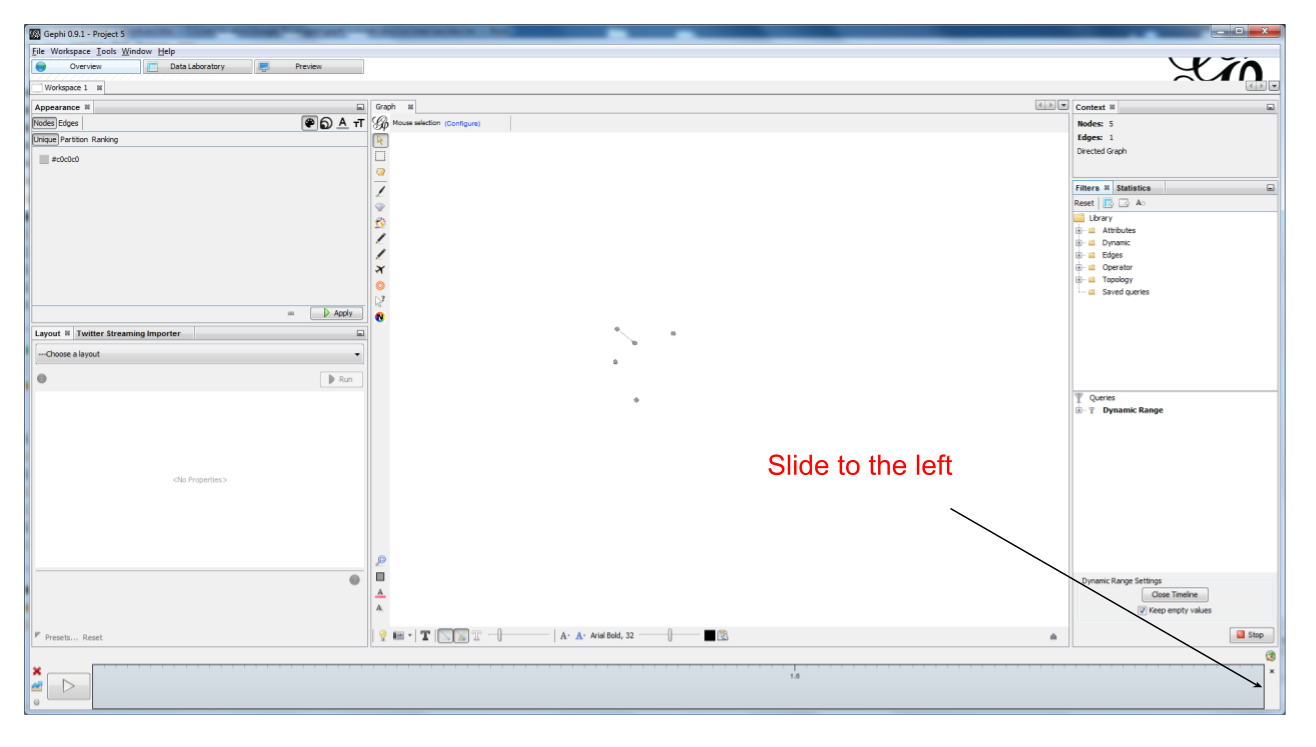
Click and slide the right side border of the timeline to the left. You should see the edge disappear:
We created a dynamic network. It needs to be animated precisely with the timeline, dynamic attributes should be explored, as well as dynamic layouts.
These features will be explained in the coming tutorials on dynamic networks with Gephi.
8. More tutorials on dynamic networks with Gephi
to go further
Visit the Gephi group on Facebook to get help,
or visit the website for more tutorials
Give a try to nocodefunctions.com, the web application I develop to create networks for Gephi. Click-and-point, free, no registration needed.